Build Your Own Hook for Uploading Images to Firebase

Full × Stack × Web × Developer || React × Node × Express × MongoDB || Football lover ⚽ Book worm 📖 Obsessed with coffee ☕ & Feluda 🕵️♂️
Before we start building our own custom react hook, let me remind you that you should have a good understanding of the basic inbuilt react hooks. And if you're not familiar with the basics you can start from Here and then come back here.
Let's Start
For building you custom hook you should keep the following things in your mind...Read about all the rules Here.
Now we've covered the basics and are ready to build our own custom Hook.
We are going to build a custom hook that will take a file as a prop and upload it to Firebase storage while returning the upload progress on the way and at the end will return the public URL which you can store in you database or use as your img src.
Create a React project
Create your react project and cd into the project directory
npx create-react-app <your app name here>
cd <your app name here>
Then start your react app
npm run start
Now you should have a boilerplate React project like the following.

Clean up and start building the UI
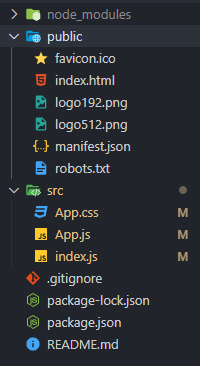
Your file structure look like this after clean up
Clean up all the boilerplate code and add a form with a input of type file in App.js and add method handleChange to handle the event when user selects a file.
App.js after adding those things...
import React, { useState } from "react";
import "./App.css";

function App() {
    const [file, setFile] = useState(null);
    const [error, setError] = useState(null);

    const types = ["image/png", "image/jpeg", "image/jpg"];

    const handleChange = (e) => {
        let selectedFile = e.target.files[0];

        if (selectedFile) {
            if (types.includes(selectedFile.type)) {
                setError(null);
                setFile(selectedFile);
            } else {
                setFile(null);
                setError("Please select an image file (png or jpg)");
            }
        }
    };

    return (
        <div className="App">
            <form>
                <label>
                    <input type="file" onChange={handleChange} />
                    <span>Upload Image</span>
                </label>
            </form>
        </div>
    );
}

export default App;
I have also added filter that only accepts image files and used the useState hook to store the file selected in file state and all errors in error state.
Now your app should look like this...

Create a Firebase Project
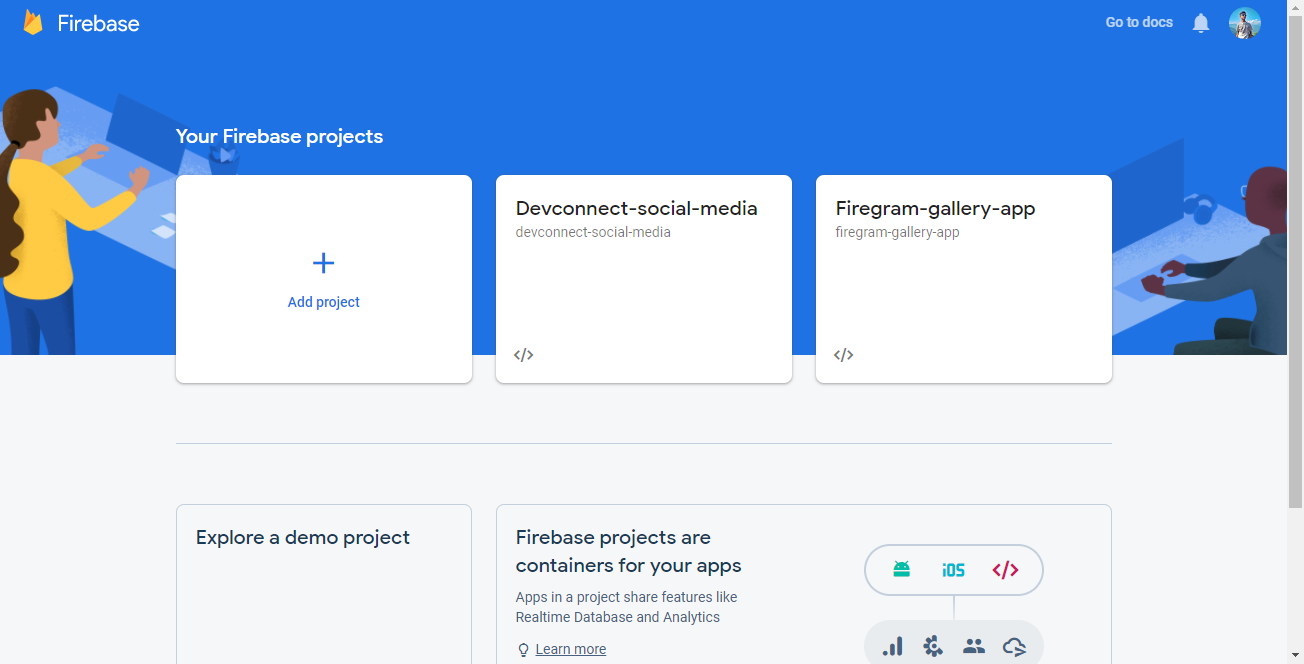
Go to Firebase Console and sign in with your google account and then click on Add project
Then give your project a name and continue

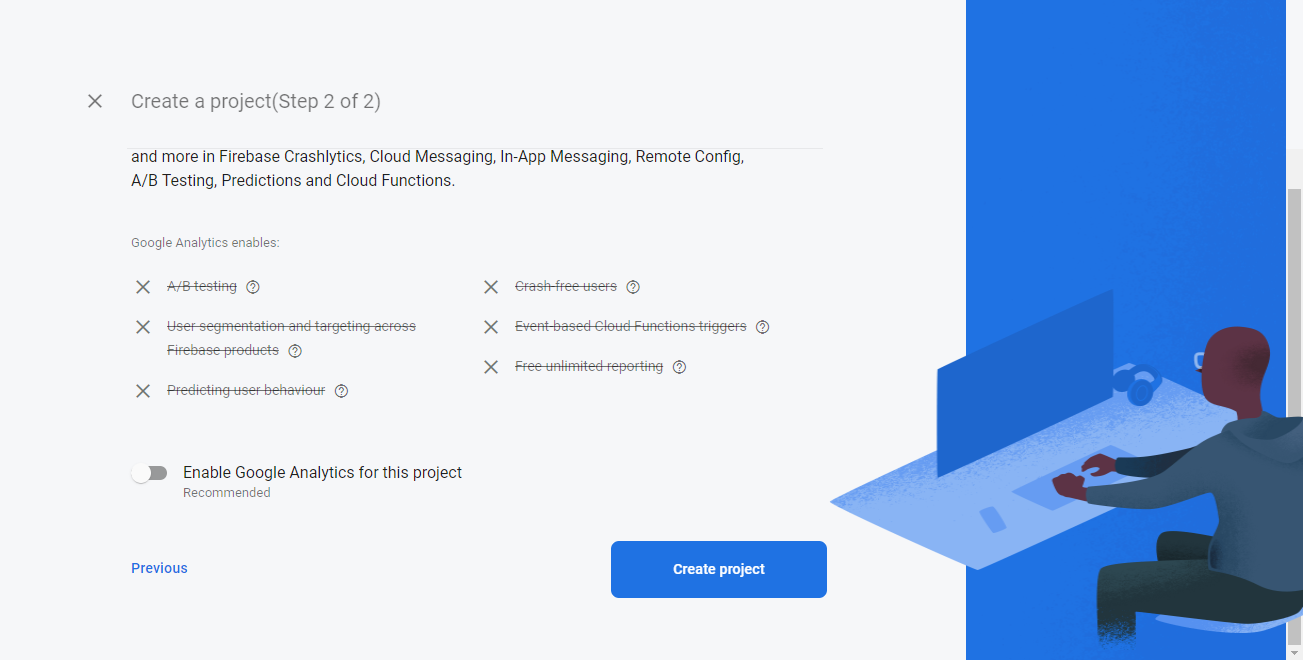
Disable google analytics and Create project
Register your app with Firebase
Add your app to Firebase.

Give your app a name and register. Firebase will give you your credentials for the app which will look like the following object.
var firebaseConfig = {
    apiKey: "AIzaSyDo5UUe86THOjczUAhytr7yu67FlLVmpj2E",
    authDomain: "new-project.firebaseapp.com",
    databaseURL: "https://new-project.firebaseio.com",
    projectId: "new-project",
    storageBucket: "new-project.appspot.com",
    messagingSenderId: "509872254322",
    appId: "1:509872254322:web:d63d977d86c734nu829e12f"
  };
Copy that object given to you by firebase and then go to your project directory.
Connect your app with Firebase
Create a new folder naming firebase inside the src folder. Create a file config.js inside the firebase folder and paste the firebaseConfig object in the file.
Now install firebase npm package. Execute the following command from your root directory.
npm i firebase
Now initialize firebase by imporitng firebase package in config.js file and the export the storage method.
import firebase from "firebase";
import "firebase/storage";

const firebaseConfig = {
    apiKey: "AIzaSyDo5UUe86THOjczUAhytr7yu67FlLVmpj2E",
    authDomain: "new-project.firebaseapp.com",
    databaseURL: "https://new-project.firebaseio.com",
    projectId: "new-project",
    storageBucket: "new-project.appspot.com",
    messagingSenderId: "509872254322",
    appId: "1:509872254322:web:d63d977d86c734nu829e12f"
 };

// Initialize Firebase
firebase.initializeApp(firebaseConfig);

const projectStorage = firebase.storage();

export { projectStorage };
Set-up storage in Firebase console
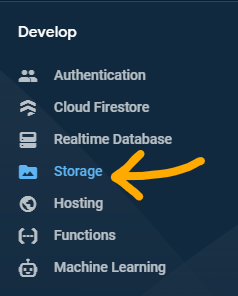
Click on the Storage link from the left side-bar and then click on Get Started
Then click Next and Done in the next step.
Now we need to change the rules so everyone can read and write from your Firebase storage.
For that navigate to the rules tab.

Then delete the current rules and paste the following rules in the rule editor. Then make sure to Publish your new rules.
rules_version = '2';
service firebase.storage {
  match /b/{bucket}/o {
    match /{allPaths=**} {
      allow read, write;
    }
  }
}
Now we are all set to upload images from our app to Firebase.
Finally let's create our custom hook
Create a new folder inside src folder naming hooks. Then create a new file useStorage.js inside the hooks folder. This will be our custom hook for uploading images to Firebase storage.
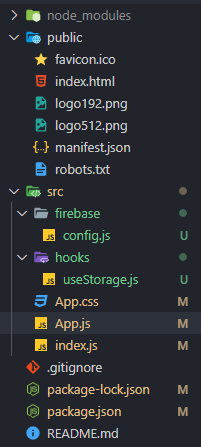
The final folder structure will be like the following.
We will use two basic hooks useState and useEffect in our custom hook.
- We need to create a
reference to the Firebase storage, which we initialized and exported in ourconfig.jsfile. - Then use the
put()method on that reference to upload the image. - The
put()method will gives us asnapeach time state changes. We can use this snap to track the upload progress in percentage. - At the end we will get the public URL from the uploaded image.
So add the following code inside useStorage.js file.
import { useState, useEffect } from "react";

import { projectStorage } from "../firebase/config";

export const useStorage = (file) => {
    const [progress, setProgress] = useState(0);
    const [error, setError] = useState(null);
    const [url, setUrl] = useState(null);

    // runs every time the file value changes
    useEffect(() => {
        if (file) {
            // storage ref
            const storageRef = projectStorage.ref(file.name);

            storageRef.put(file).on(
                "state_changed",
                (snap) => {
                    // track the upload progress
                    let percentage =
                        Math.round(
                        (snap.bytesTransferred / snap.totalBytes) * 100
                    );
                    setProgress(percentage);
                },
                (err) => {
                    setError(err);
                },
                async () => {
                    // get the public download img url
                    const downloadUrl = await storageRef.getDownloadURL();

                    // save the url to local state
                    setUrl(downloadUrl);
                }
            );
        }
    }, [file]);

    return { progress, url, error };
};
We added all the logic inside the useEffect hook and added file as the dependency. So whenever the file changes our hook will re-run.
At the end we are exporting the progress, url and error.
Integrate the hook in our component
We can now import the useStorage hook in our component and use it with the file selected.
We can also show the progress.
App.js file after integrating with the useStorage hook.
import React, { useState } from "react";
import "./App.css";

import { useStorage } from "./hooks/useStorage";

function App() {
    const [file, setFile] = useState(null);
    const [error, setError] = useState(null);

    const types = ["image/png", "image/jpeg", "image/jpg"];

    const handleChange = (e) => {
        let selectedFile = e.target.files[0];

        if (selectedFile) {
            if (types.includes(selectedFile.type)) {
                setError(null);
                setFile(selectedFile);
            } else {
                setFile(null);
                setError("Please select an image file (png or jpg)");
            }
        }
    };

    // Getting the progress and url from the hook
    const { progress, url } = useStorage(file);

    return (
        <div className="App">
            <form>
                <label>
                    <input type="file" onChange={handleChange} />
                    <span>Upload Image</span>
                </label>
            </form>

            {error && <p>{error}</p>}
        </div>
    );
}

export default App;
Now we have access to the progress and url of the file. So we can use that to give users some feedback and then we can show the image using the url when the upload is complete.
Add these html inside the root div after the paragraph tag where we are showing the error.
Now our app will also show the progress and image.
{file && <p>{progress}% uploaded</p>}
{url && (
          <p>
             <b>File url: </b>
             <a href={url}>{url}</a>
          </p>
)}
{url && <img src={url}></img>}
Our App.js now...
import React, { useState } from "react";
import "./App.css";

import { useStorage } from "./hooks/useStorage";

function App() {
    const [file, setFile] = useState(null);
    const [error, setError] = useState(null);

    const types = ["image/png", "image/jpeg", "image/jpg"];

    const handleChange = (e) => {
        let selectedFile = e.target.files[0];

        if (selectedFile) {
            if (types.includes(selectedFile.type)) {
                setError(null);
                setFile(selectedFile);
            } else {
                setFile(null);
                setError("Please select an image file (png or jpg)");
            }
        }
    };

    // Getting the progress and url from the hook
    const { progress, url } = useStorage(file);

    return (
        <div className="App">
            <form>
                <label>
                    <input type="file" onChange={handleChange} />
                    <span>Upload Image</span>
                </label>
            </form>

            {error && <p>{error}</p>}
            {file && <p>{progress}% uploaded</p>}
            {url && (
                <p>
                    <b>File url: </b>
                    <a href={url}>{url}</a>
                </p>
            )}
            {url && <img src={url}></img>}
        </div>
    );
}

export default App;
- So now we have created our own custom hook successfully.
- Integrated it in our component.
- And also showing the progress and displaying the image after the upload is completed.
- You can also store the URL in your database if you want.
You can check out the app live Here. Go ahead and check it out.
You can also check out the full source code in my Github Repo. Before using the code make sure to replace my firebase credentials with your credentials. Otherwise it won't work.
And while you are in my Github Don't forget to fork the repo and also follow me in Github


